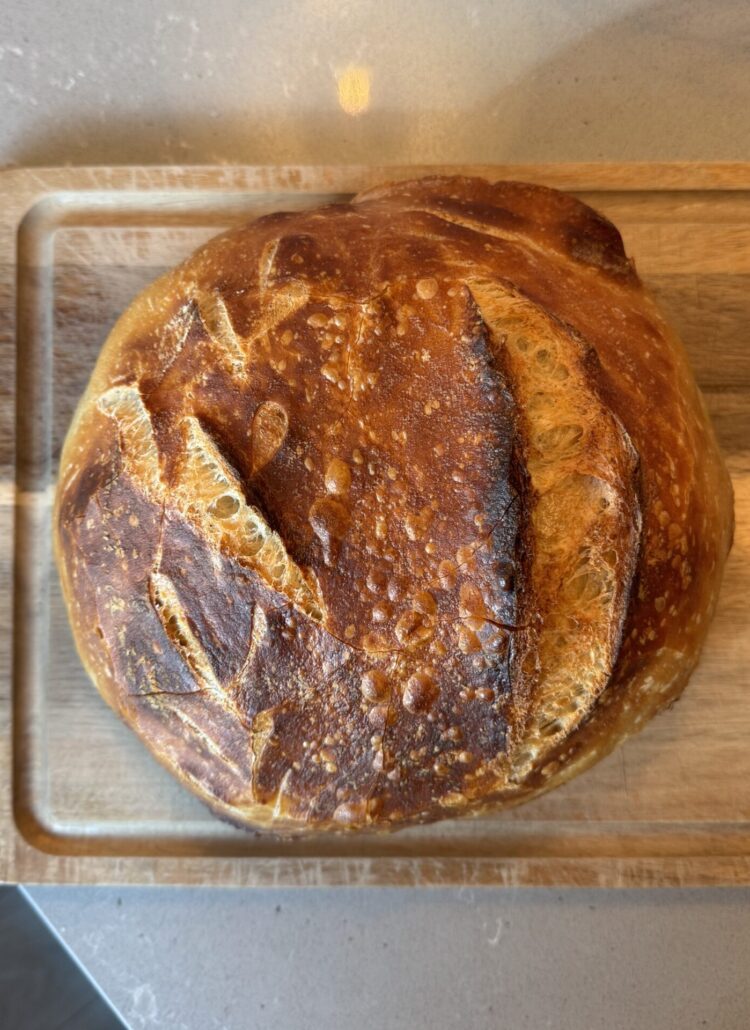
So you have a sourdough starter but don’t know what to do next! Let me help! To get started we must first feed our starter. I typically feed my starter 4ish hours before making a loaf. The goal is for the starter to double in size. When the starter has doubled in size, you’ll notice it becomes very bubbly or ‘active’. That is what you’re looking for!
To Feed Your Starter:
Mix these ingredients in a jar until combined. Once combined, leave your starter on the counter with the lid on loose until it has doubled in size.
For a smaller starter you can feed 50g starter, 50g water, 50g flour – your feed just depends on how much starter you want on hand or how many loaves you plan to make!
Tip: My kitchen can be a lit cold so I often leave my starter on my glass stove top with the microwave/hood light on low.
To Make Bread:
- 100g starter
- 325g filtered water (*mix together starter water until the starter has dissolved and the solution is milky)
- 10g fine salt (I use Redmond Ancient Fine Sea Salt)
- 475g flour (I use organic all purpose)
Mix everything together until combined. You are looking for a shaggy consistency.
Tip: I typically mix with my danish dough whisk and then use my hands to combine a bit more. Careful not to over mix! If you do not have a danish dough whisk whatever you have!
Here is Where it Gets Interesting:
- Let your newly combined shaggy dough sit on the counter in a bowl. Cover your bowl with a wet towel and let it rest for 30 mins.
- When the first 30 mins are up you will complete your first stretch and fold. (Here is a video showing the stretch and fold method I like to use.) When completed, cover your bowl again with the damp towel and allow your dough to rest for 30 minutes. You will complete three rounds of stretch and folds, each 30 minutes apart.
- After the third stretch and fold your dough will need to rise! Cover your dough with a dry towel for about 3-4 hours. I like to put mine in the oven with the light on or on my glass stovetop with the microwave/hood light on high.
- After about 3-4 hours your dough should have puffed up. The dough is ready when you can lightly press and it bounces back slowly.
- When the dough is done proofing, remove the dough from the bowl and place on a lightly floured surface.
- Stretch your dough into a rectangle. Fold the bottom half up about half way and then the top half down. You will then flip your dough so that it is perpendicular to you. Roll the dough into a log.
- Flip dough so the seem is down.
- Create tension by rounding the dough – press the dough out and carefully pull it toward you turning each time.
- Carefully grab your dough and place it smooth side down / seem side up in your basket. If you don’t have a Banneton basket you can set your dough in a tea towel lined bowl.
- Cover with a dry towel and then plastic wrap.
- Place in the fridge for 12-16 hours
When Ready to Bake:
- Heat the Dutch over to 500°F and let your dough rise in the basket on the counter for 1hr.
- Remove the dough from the basket right before baking and score your loaf.
- Bake for 20 mins at 500°F with the lid on
- Reduce the oven temp to 475°F and remove the lid. Cook for an additional 20 mins uncovered.
- Let your bread rest at room temp for 4ish hours before cutting! Enjoy!!


